Are you looking for a user-friendly and scalable queue management system to replace Qless? If you have landed on this article, we can assume that you have already compared Qminder to Qless, and decided to test Qminder in your service location.
Qminder’s easy-to-use interface and self-service capabilities make it possible to set the system up in a matter of few minutes and see it in action before implementing it. Start your 14-day free trial now and test Qminder in your physical location.
We understand the challenges of transitioning to a new platform, and we're here to make the switch smooth and efficient. 💚
Use our guide to get Qminder live in a few minutes, and make the most of your 14-day trial. You can always contact our support team and get our help for the implementation.

In this article, we will cover the following steps in migrating your queuing system to Qminder from Qless.
What are the main differences between Qminder and Qless?
While both systems provide self-check-in and virtual queuing with remote sign-in, there are some essential differences between the two softwares.

Qminder’s system is built for scalability, with ease of use in mind. This makes migrating to Qminder a simple experience, without the need for additional help from customer support teams.
-
Self-service software
Unlike many other queuing systems, Qminder’s settings are self-configurable. Modern software allows managers to take control of their customer service and build tailored service flows easily. Next in this article, we will talk about how to set up your services, check-in devices, and configure check-in questions in Qminder.
-
Browser-based system
Qminder is a browser-based software, accessible with an internet connection from anywhere. Managers and staff can simply log in from any device to manage waitlists, serve visitors, or get real-time location insights. Visitors can sign in remotely via QR code or web link, eliminating the need for app downloads. SMS notifications keep everyone informed. This browser-based approach simplifies communication and streamlines operations.
-
Unlimited service locations and visitors
You can manage services across unlimited locations with no visitor caps. Qminder's transparent pricing grows with you, based on the number of user seats, not locations. Scale up effortlessly – add new locations and replicate configurations with a single click. No hidden fees, just predictable pricing for effortless growth.
How to migrate from Qless to Qminder?
1. How to set up your check-in methods in Qminder?
You can use your current Qless check-in methods in Qminder, and easily set up and manage them.
Offer self-check-in, remote sign-in, or manually check-in visitors to services with Qminder Service View.
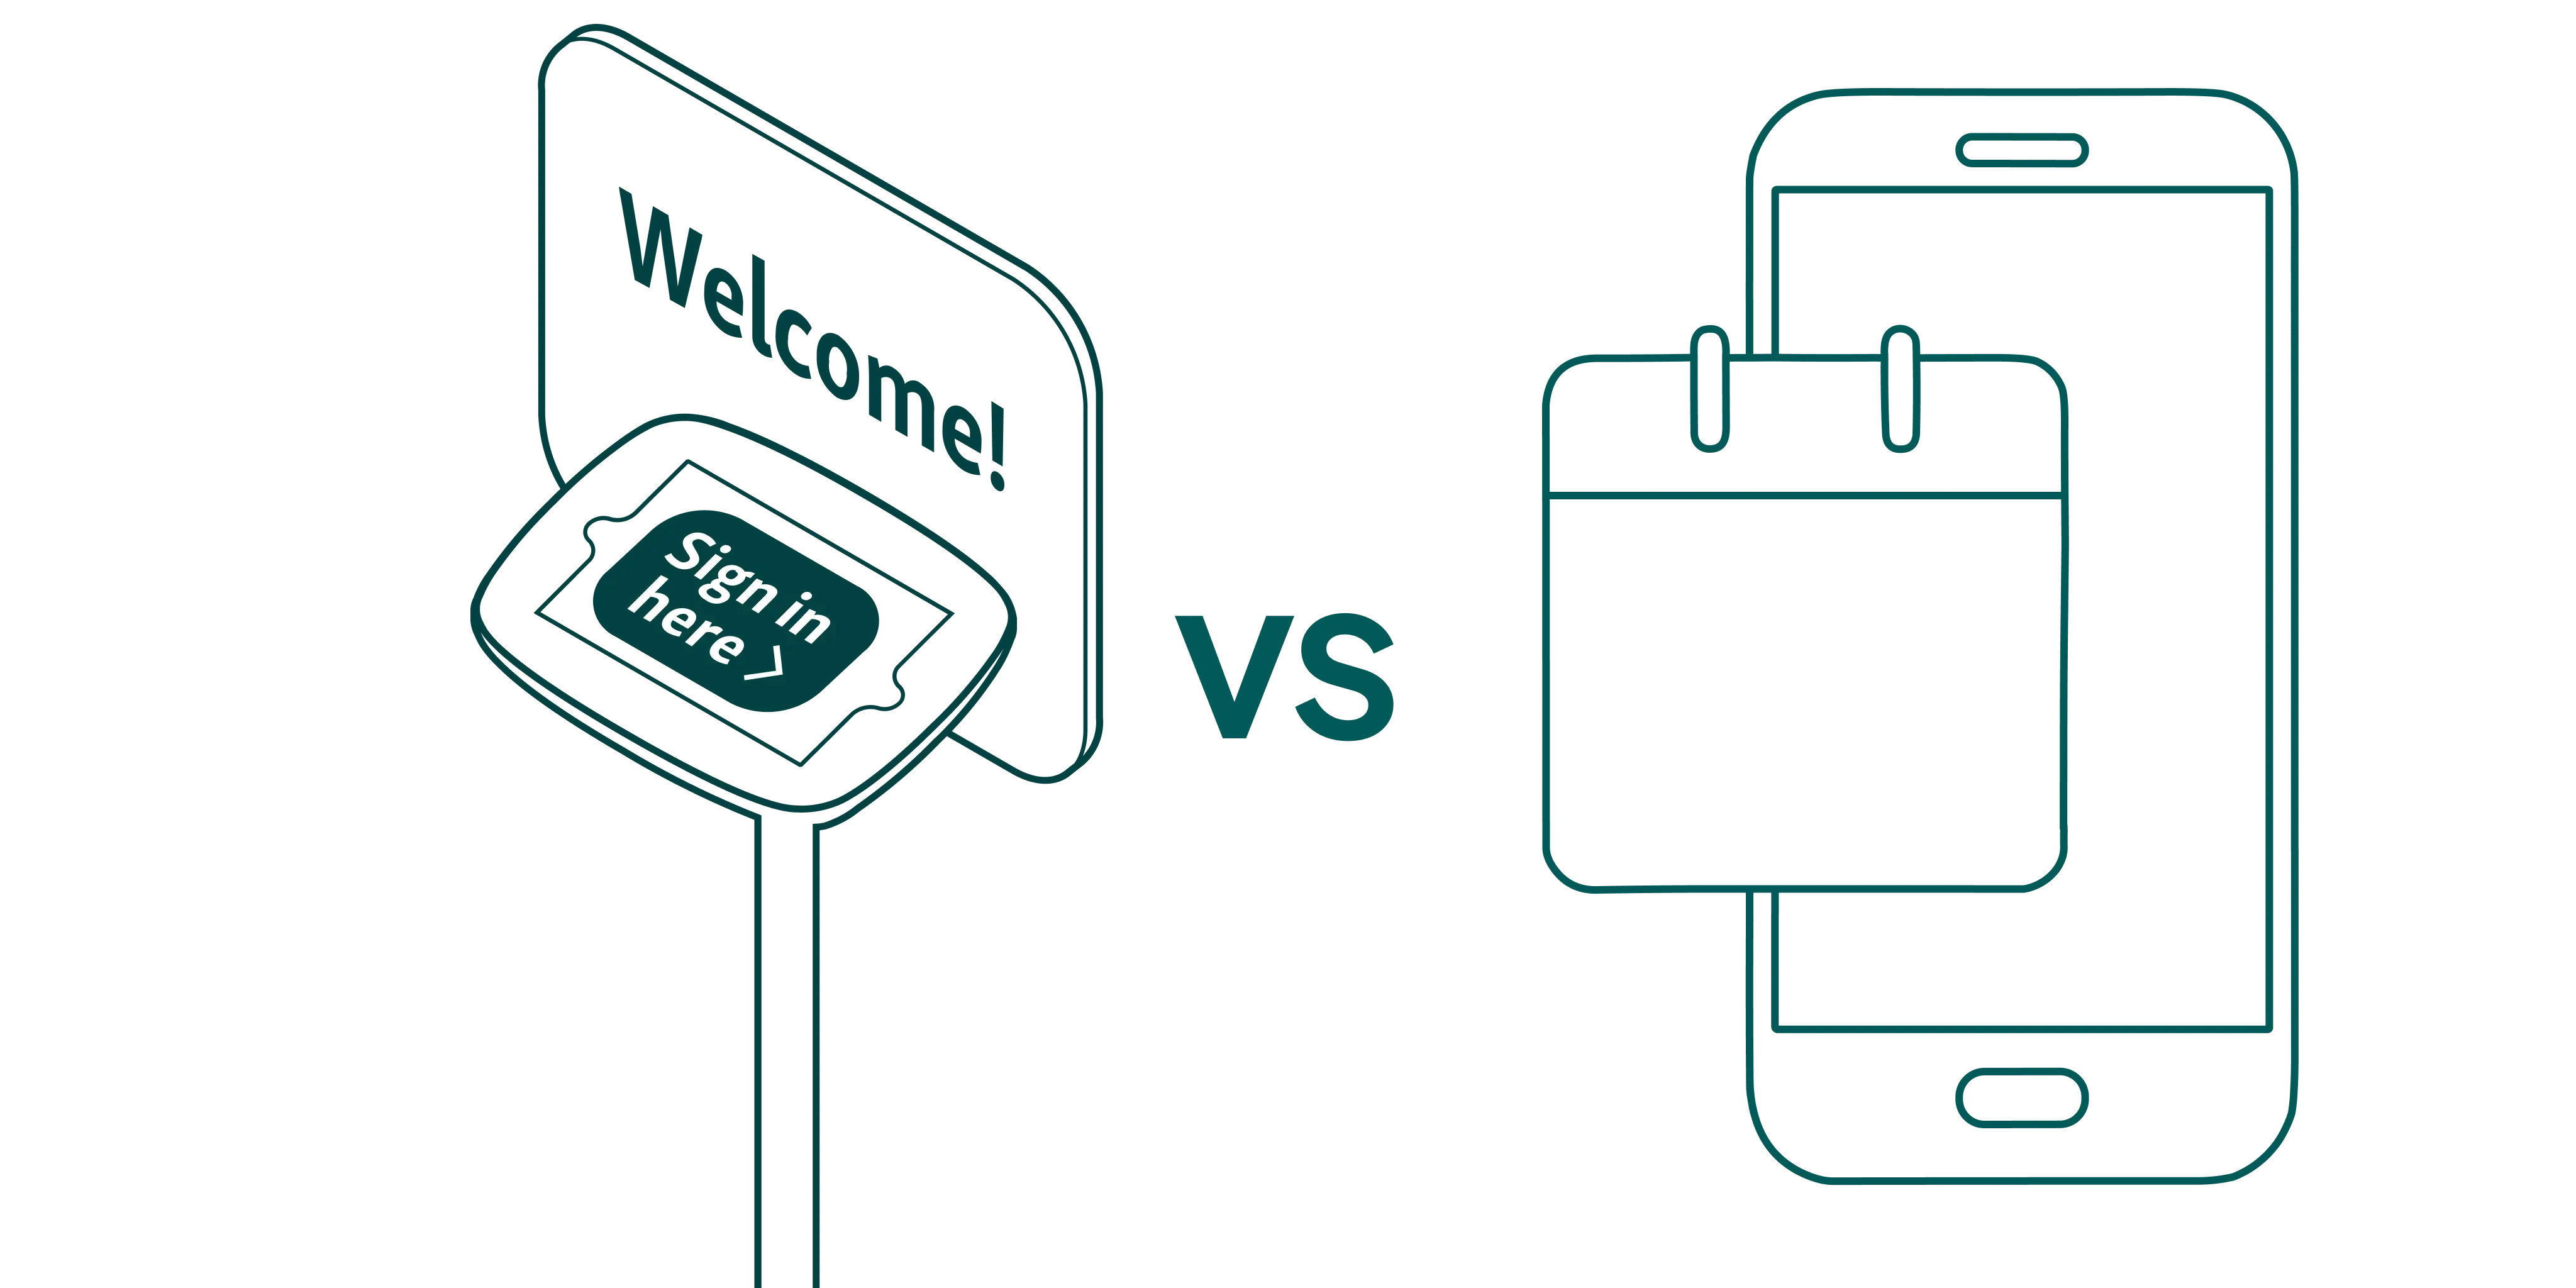
Self-check-in kiosk for waiting areas: You can turn any iPad into a check-in kiosk with Qminder. All you need to do is connect the Apple device to Qminder in Location Settings. Check out how to set up an iPad check-in kiosk from here. Later in this article, we will talk about how to customize check-in questions.

Remote check-in for virtual queuing: Qminder’s Visit Planner is a webpage where visitors can sign in to services online. Businesses can display opening hours, average wait time, and current number of visitors waiting on the Visit Planner page. This information allows visitors to plan when to visit your location, and wait for their turn from anywhere. Learn more about how to set up Visit Planner from here.
2. How to set up your existing services in Qminder?
To start welcoming visitors with Qminder, you need to set up your Services. Unlike with Qless, you can set up your services yourself in Qminder.

Creating Services in Qminder requires 1 min. If you have created your trial account, log in and go to the Services page via Location Settings. If you need any help, check our support article.
If you offer multiple services and need to ask custom questions according to service type, you can create a branching sign-in flow and apply these settings to an iPad.
3. How to notify visitors with SMS?
If you offer remote sign-in and use Qminder Visit Planner, you need to set up SMS notifications to keep visitors informed. You can send automated text messages on 3 different occasions.
Welcome message: Confirm that the visitor has checked in to the service and share further instructions if needed.
The visitor is being called: Inform visitors that it’s their turn and help them navigate to the correct service point.
After service: Share your after-service survey links with visitors and collect feedback.
You can customize notification content, receive replies, and communicate with visitors.
SMS charges in the United States are included in Qminder pricing. To enable SMS notifications, login to your trial account and contact our support team.

4. How to organize waiting areas with Waitlist TV?
To set up a Waitlist TV in Qminder, you will need an Apple TV. Simply connect as many devices as you want, and eliminate confusion in waiting areas.
Qminder Waitlist TV displays a visitor's place in line and gets updated when a new visitor joins the queue. When a visitor is being called for service, the TV shows a clear notification and plays an attention-grabbing sound chime.
Display front-line staff’s profile picture and desk or room names to navigate visitors to the correct service spot.
5. How to set up multiple service locations in Qminder?
Qminder allows users to create unlimited new locations, and implement the system to multiple physical locations easily.
⭐ If you have multiple physical service locations and want to roll out Qminder to multiple branches, you can do this by copying your location settings to a new location. To do this, you first need to set up your initial location in Qminder.
To add a new location in Qminder, go to the Location Settings page and click on + New Location. Enter a name, and the address of your physical location and simply save it.
This flexible structure removes roadblocks and allows rapid scaling, ensuring Qminder adapts to your evolving needs.
6. How to invite my staff to the Qminder account?
You can invite team members to your Qminder account by navigating to the Team page under Location Settings.
Qminder offers four user roles that define access levels. For example, Managers have full control over Location Settings and Data Insights, while front-line staff can be assigned Clerk roles. Clerks manage Service Lines and serve visitors, while Managers can delve deeper with Team Performance reports for each employee.
Check more about the Team Member Roles from here.
7. Reporting and Data Insights in Qminder
Once you start serving visitors with Qminder, you will also uncover actionable insights about your services and staff.
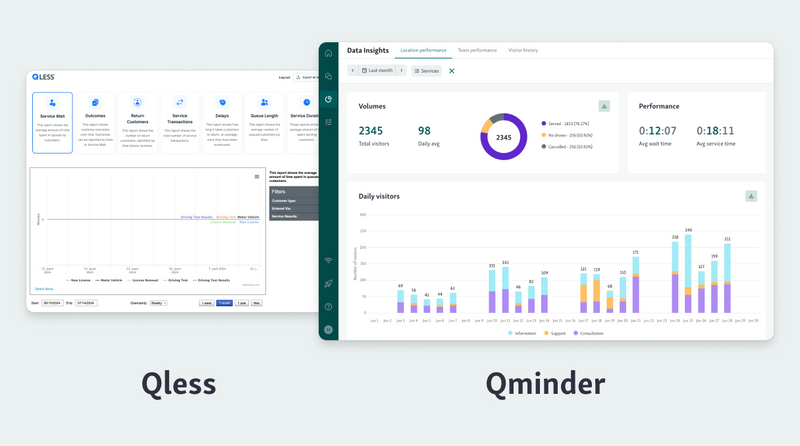
Qminder Data Insights provides organizations with easy-to-read reports and help managers to understand key metrics like visitor volume, peak hours, popular services, and average wait times.
You can drill down further with four report levels: Organizational Performance, Location Performance, Team Performance, and Visitor History. This empowers you to identify bottlenecks, optimize wait times, and boost visitor satisfaction.
Next to the Data Insights, use the Overview page to get real-time overview on waiting visitors, service demand, staff availability, and current service times. You can now easily make informed decisions and ensure a smooth customer experience.
Our customers who switched to Qminder from Qless have found success with Qminder thanks to its intuitive interface, effortless implementation, and our fast, responsive customer support. Have questions? We're happy to help! Reach out through the chat bubble on this page or request a demo call.


